Step-by-Step Guide to Deploying an EC2 Instance on AWS and Connecting it to Your Computer

👋 Hi, I’m Praduman Prajapati — a DevOps Engineer with hands-on experience in building production-grade CI/CD pipelines, containerized applications, and scalable, secure, and automated cloud infrastructure.
I’ve work on multiple real-world projects including: • Automated CI/CD pipelines using Jenkins, GitHub Actions, and ArgoCD • Kubernetes cluster provisioning and deployment on AWS (EKS and kubeadm) • Containerization and orchestration with Docker and Kubernetes • Infrastructure provisioning and automation using Terraform and Ansible • DevSecOps implementations with Trivy, SonarQube, OWASP, Prometheus, and Grafana • Production-grade deployments of applications on cloud infrastructure
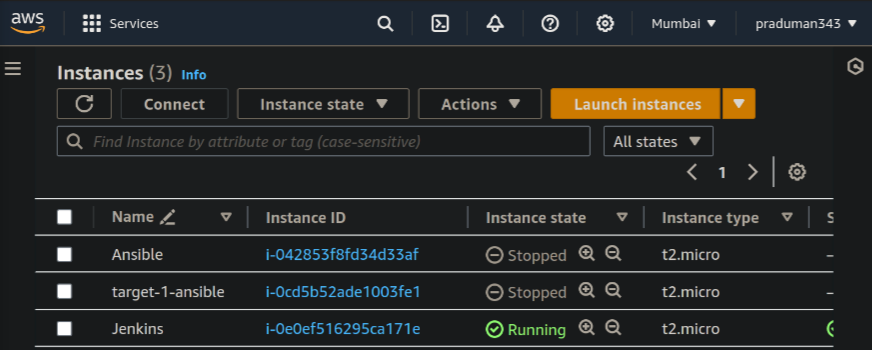
Go to the instances present under EC2 services on AWS
choose a name

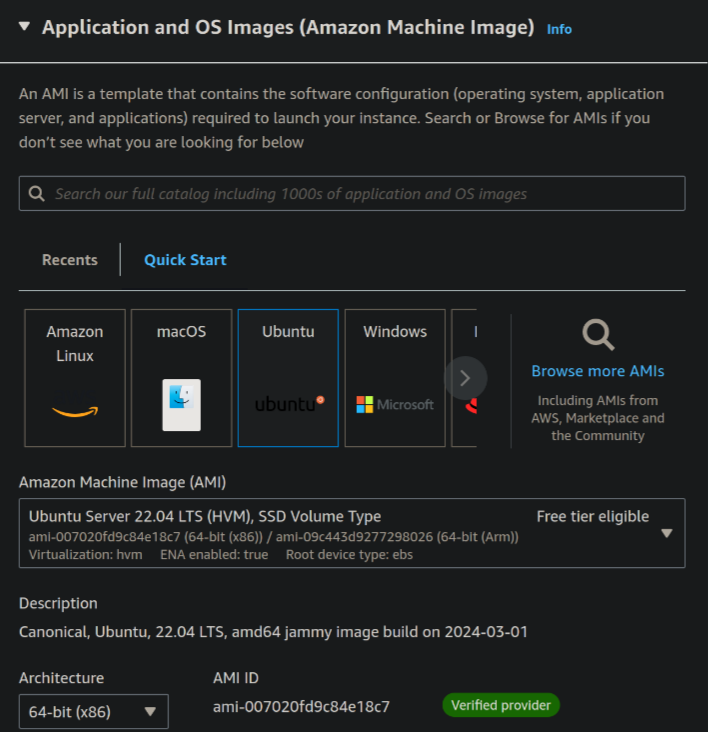
Choose an OS image you want to launch on your instance
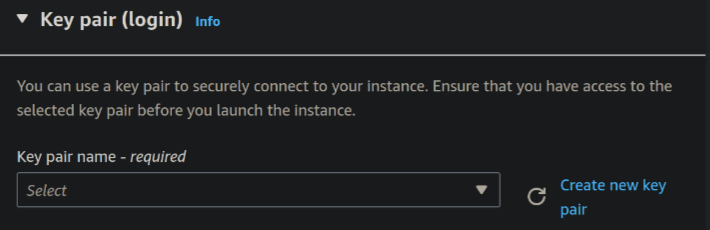
Create a new key pair and save it to your local

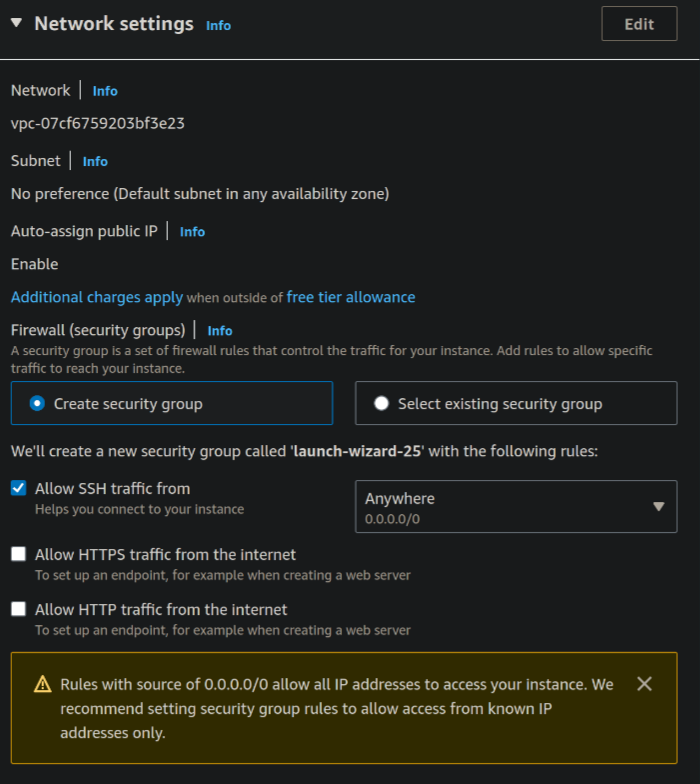
Under network setting leave all as default
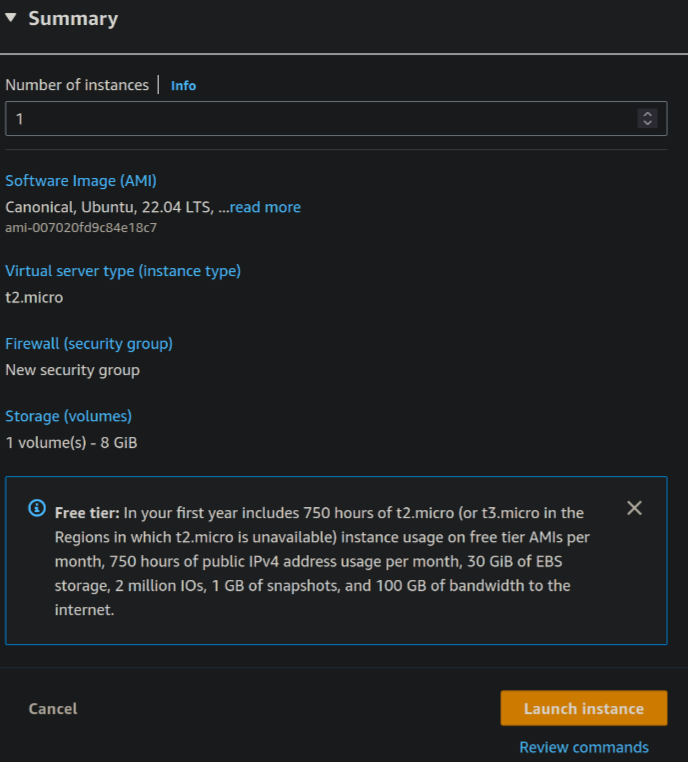
Leave all the settings as default and click on launch instance
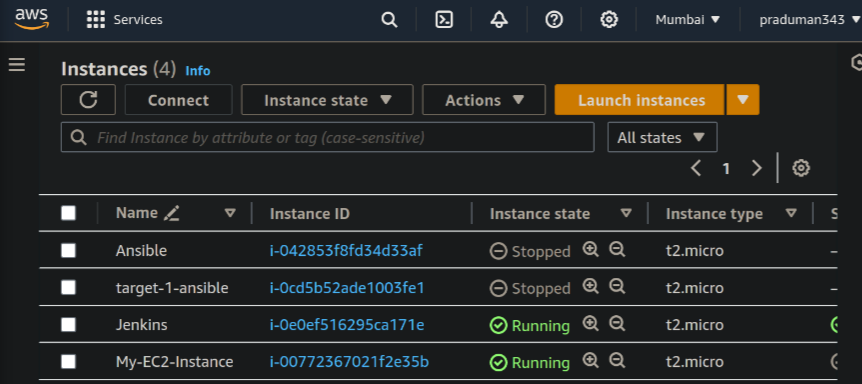
Congrats! You've created an instance

Go to the instances now and wait for your instance to start running
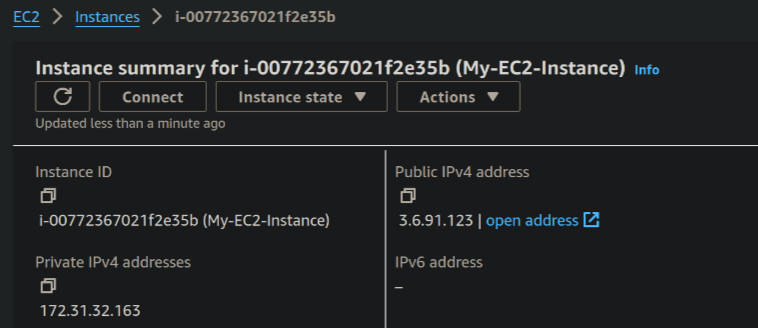
Click on instance ID and copy the public IPv4 address
Now open a terminal on your local and run the command
chmod 400 <Path-to-your-key-pair-file>ssh -i <Path-to-your-key-pair-file> <OS-image-name>@<your-copied-public-IPv4-address>
congrats! you are now connected to the instance you have created on AWS